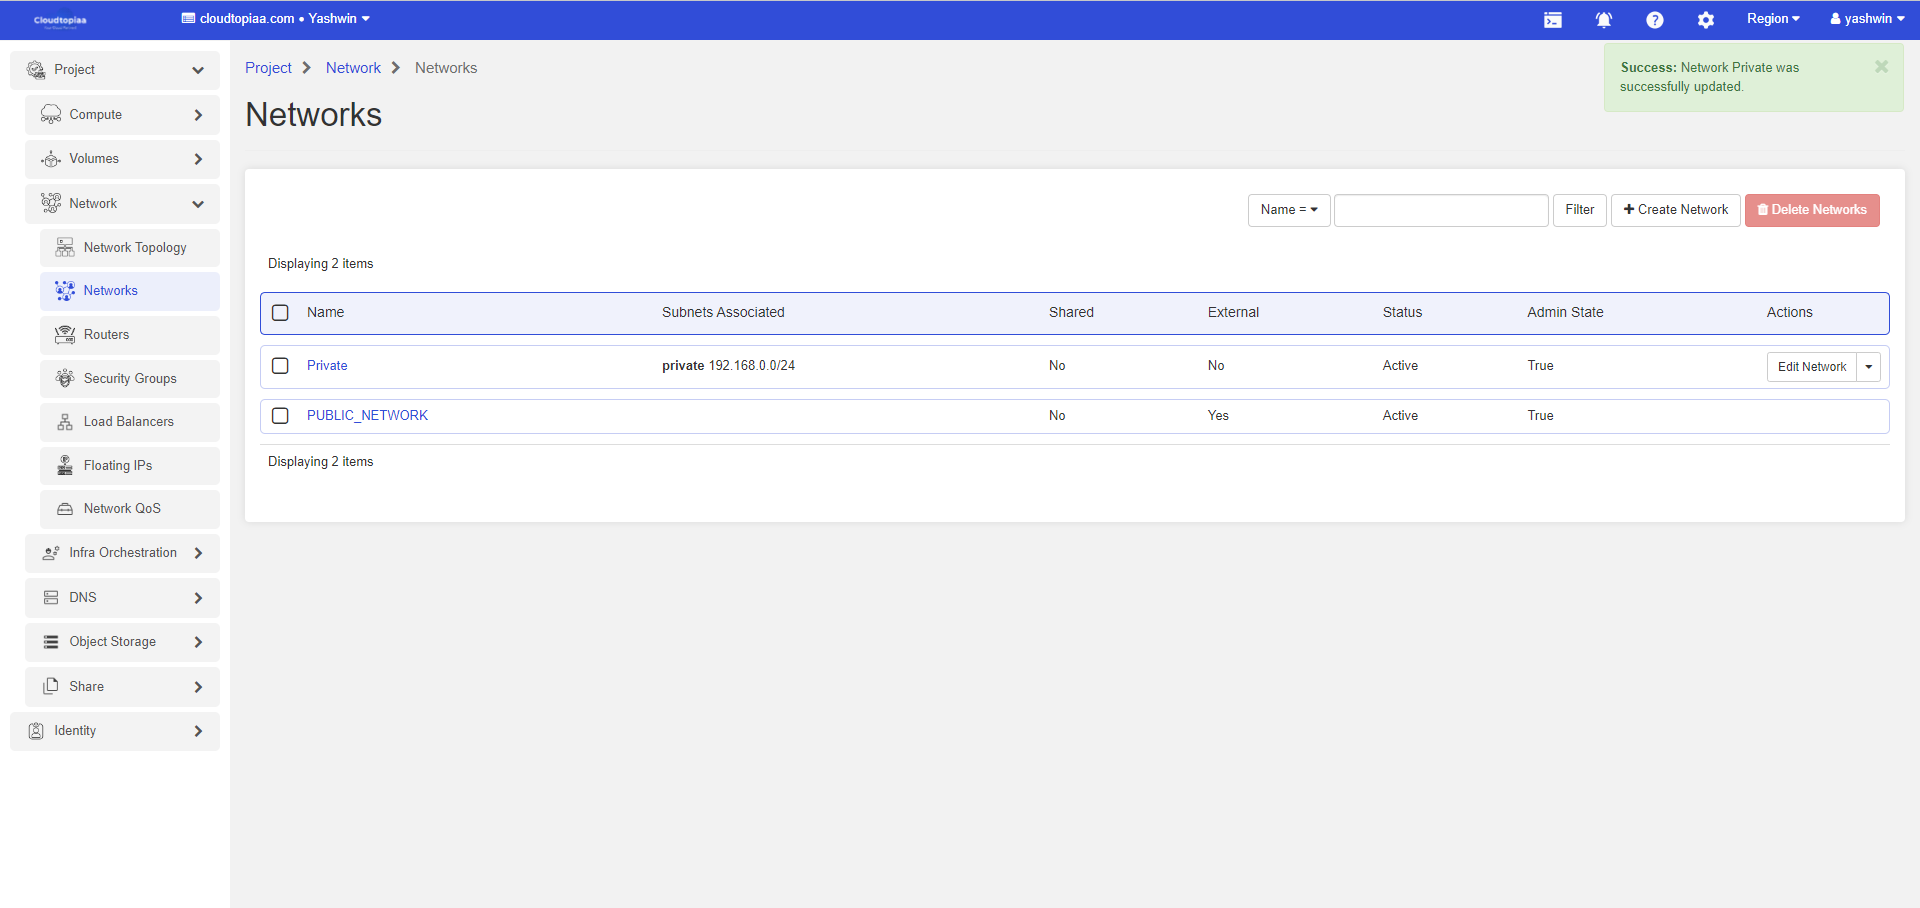
Manage Network
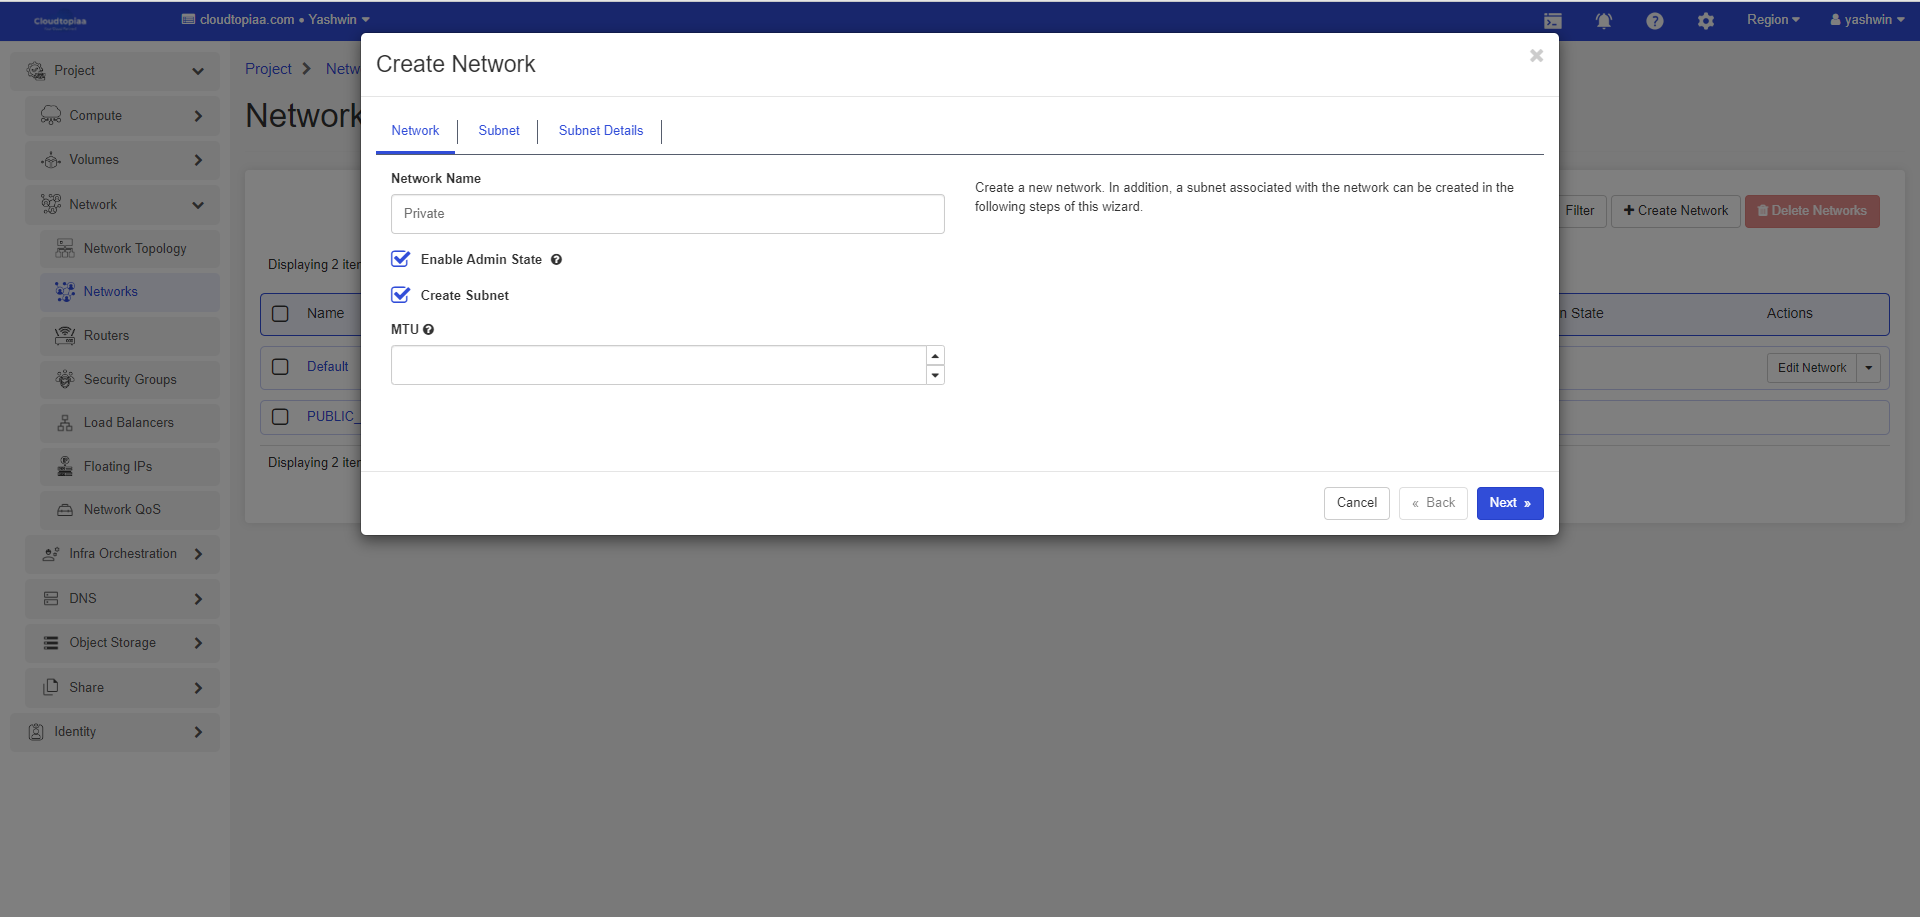
Create Network
- Log in to the dashboard.
- Select the appropriate project from the drop down menu at the top left

- Navigate to Project > Networks > Click on Create Network
- Specify Network Name in Network tab and click Next.
5. Specify following details in Subnet tab and click Next.
| Subnet Name | Subnet Name |
| Network Address | Network address in CIDR format (e.g 192.168.1.0/24) |
| IP Version | IP version (IPV4 or IPV6) |
| Gateway IP | Subnet Gateway. Default is first IP of subnet. |

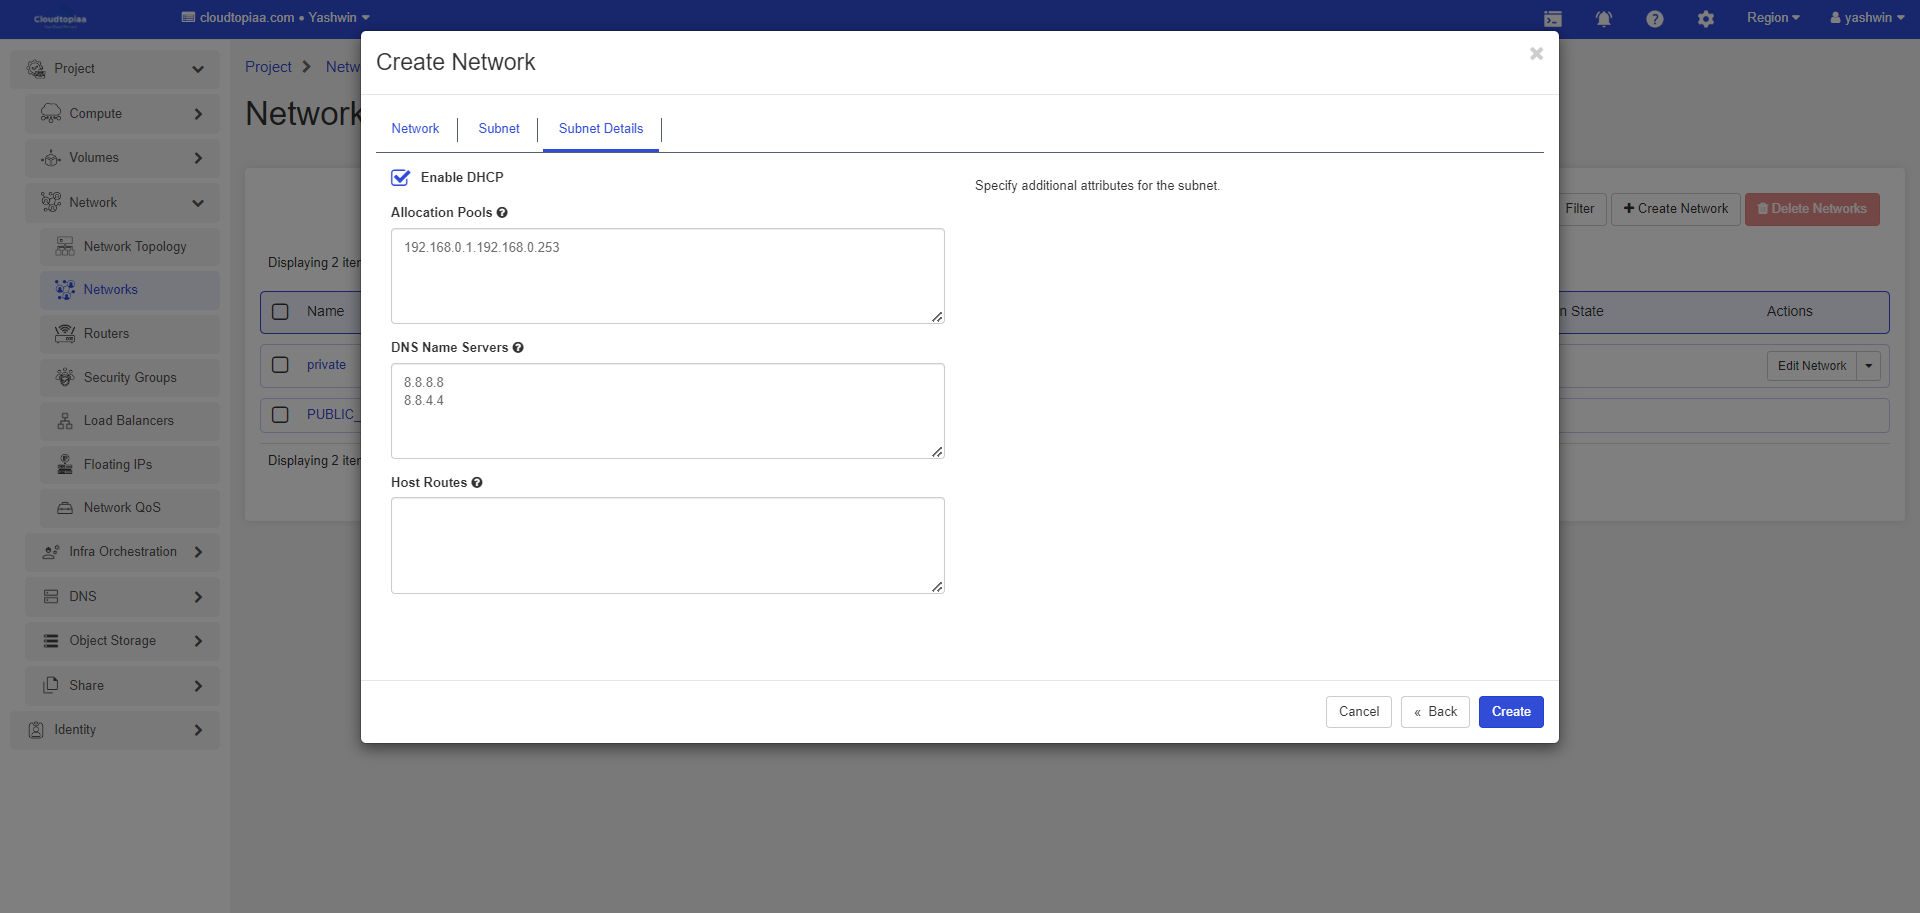
6. Specify following details in Subnet Details tab and click Create
| Allocation Pool | IP Address Allocation Pool. Each entry is start_ip,end_ip. (e.g 192.168.1.10,192.168.1.200) |
| Network Address | Network address in CIDR format (e.g 192.168.1.0/24) |
| DNS Servers | IP address list of DNS name servers. One entry per line. |
Create Router
- Log in to the dashboard.
- Select the appropriate project from the drop down menu at the top left.
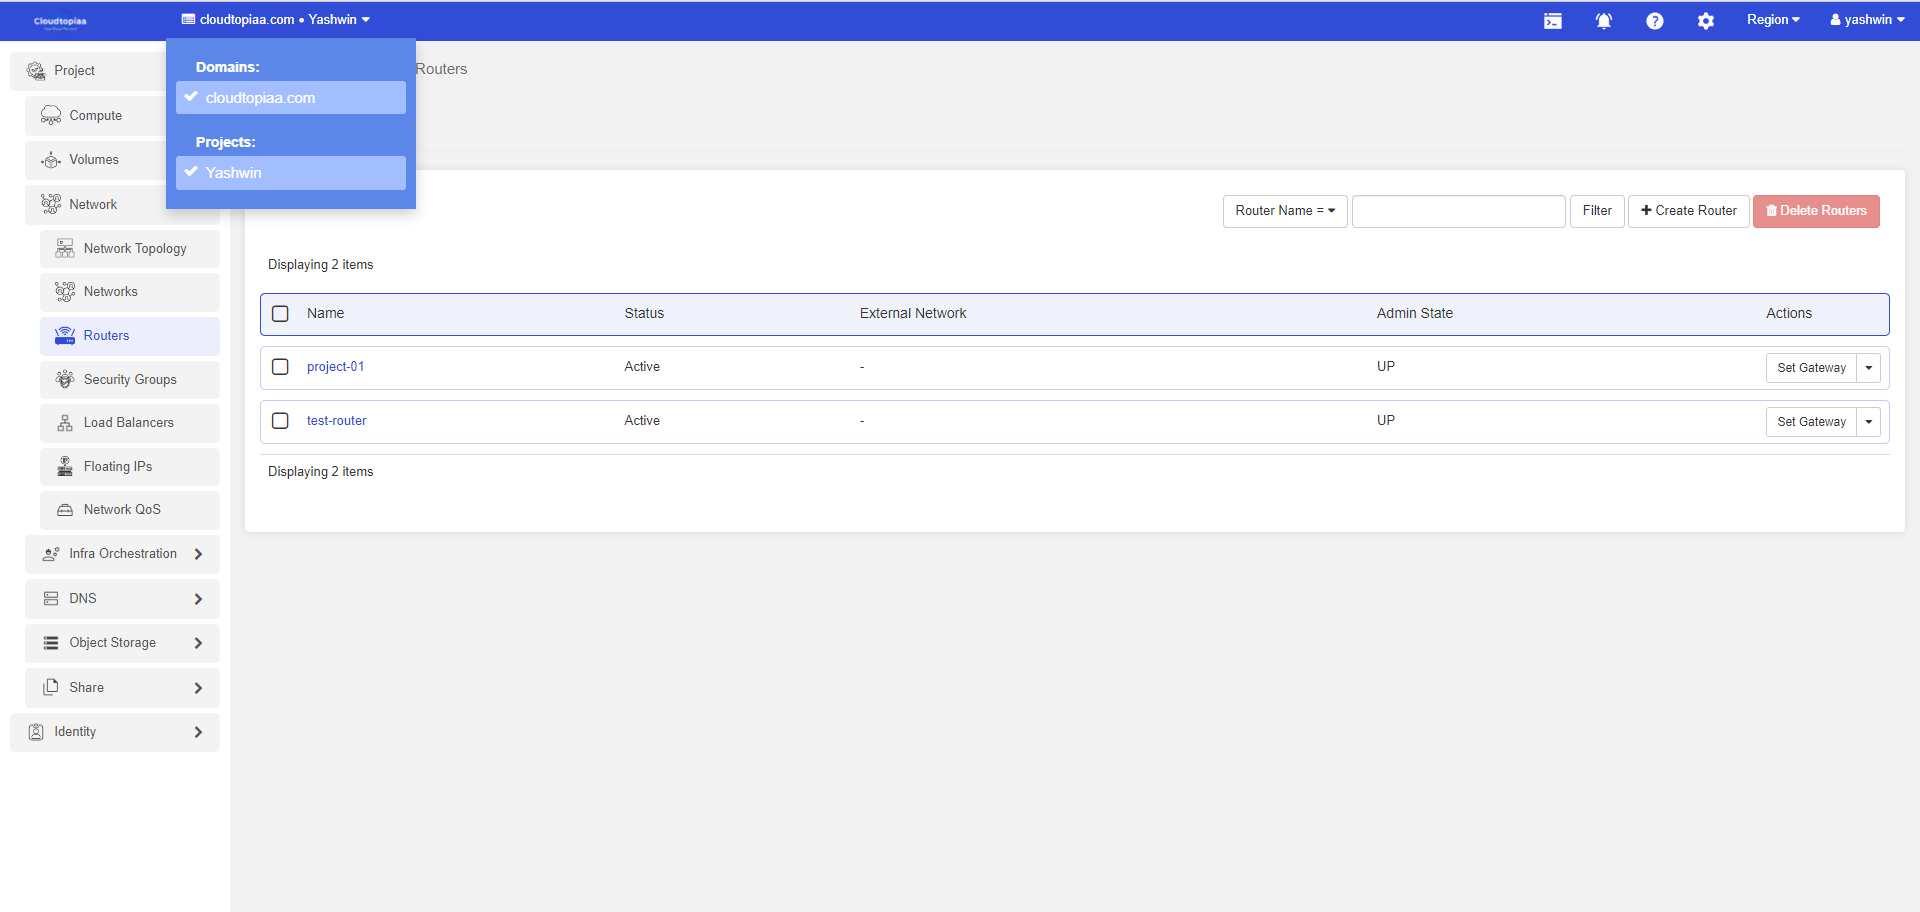
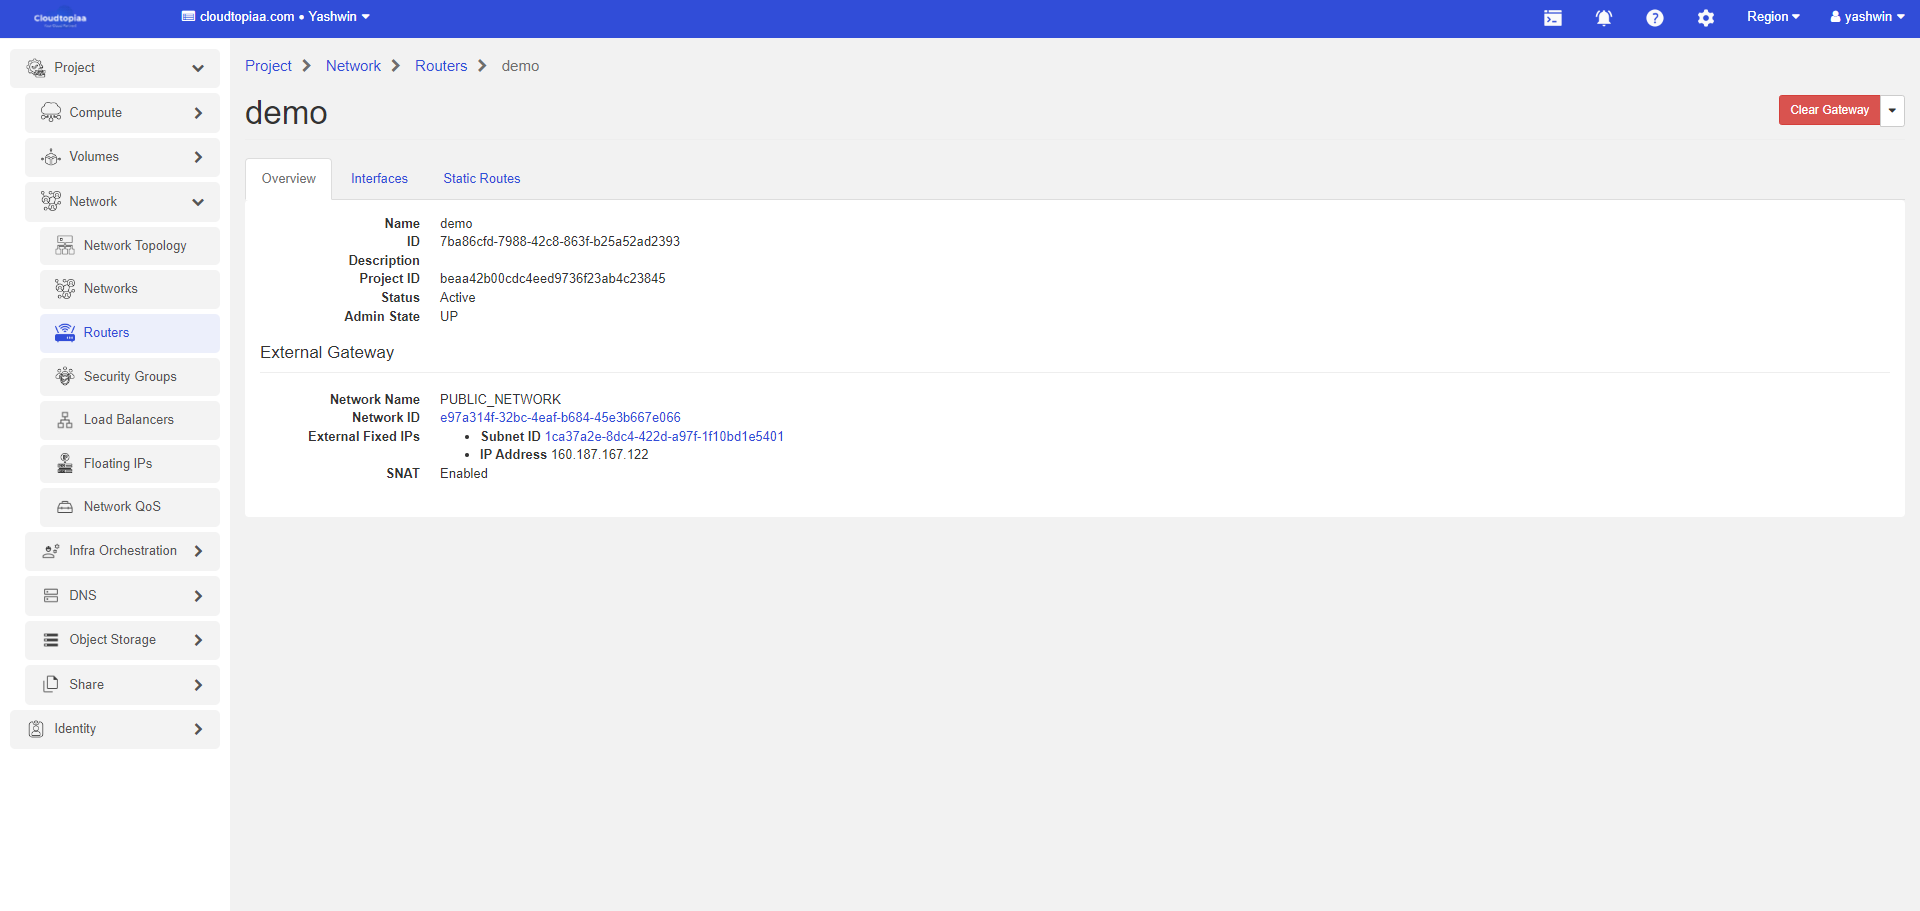
3. Navigate to Project > Network > Routers and click on Create Router.
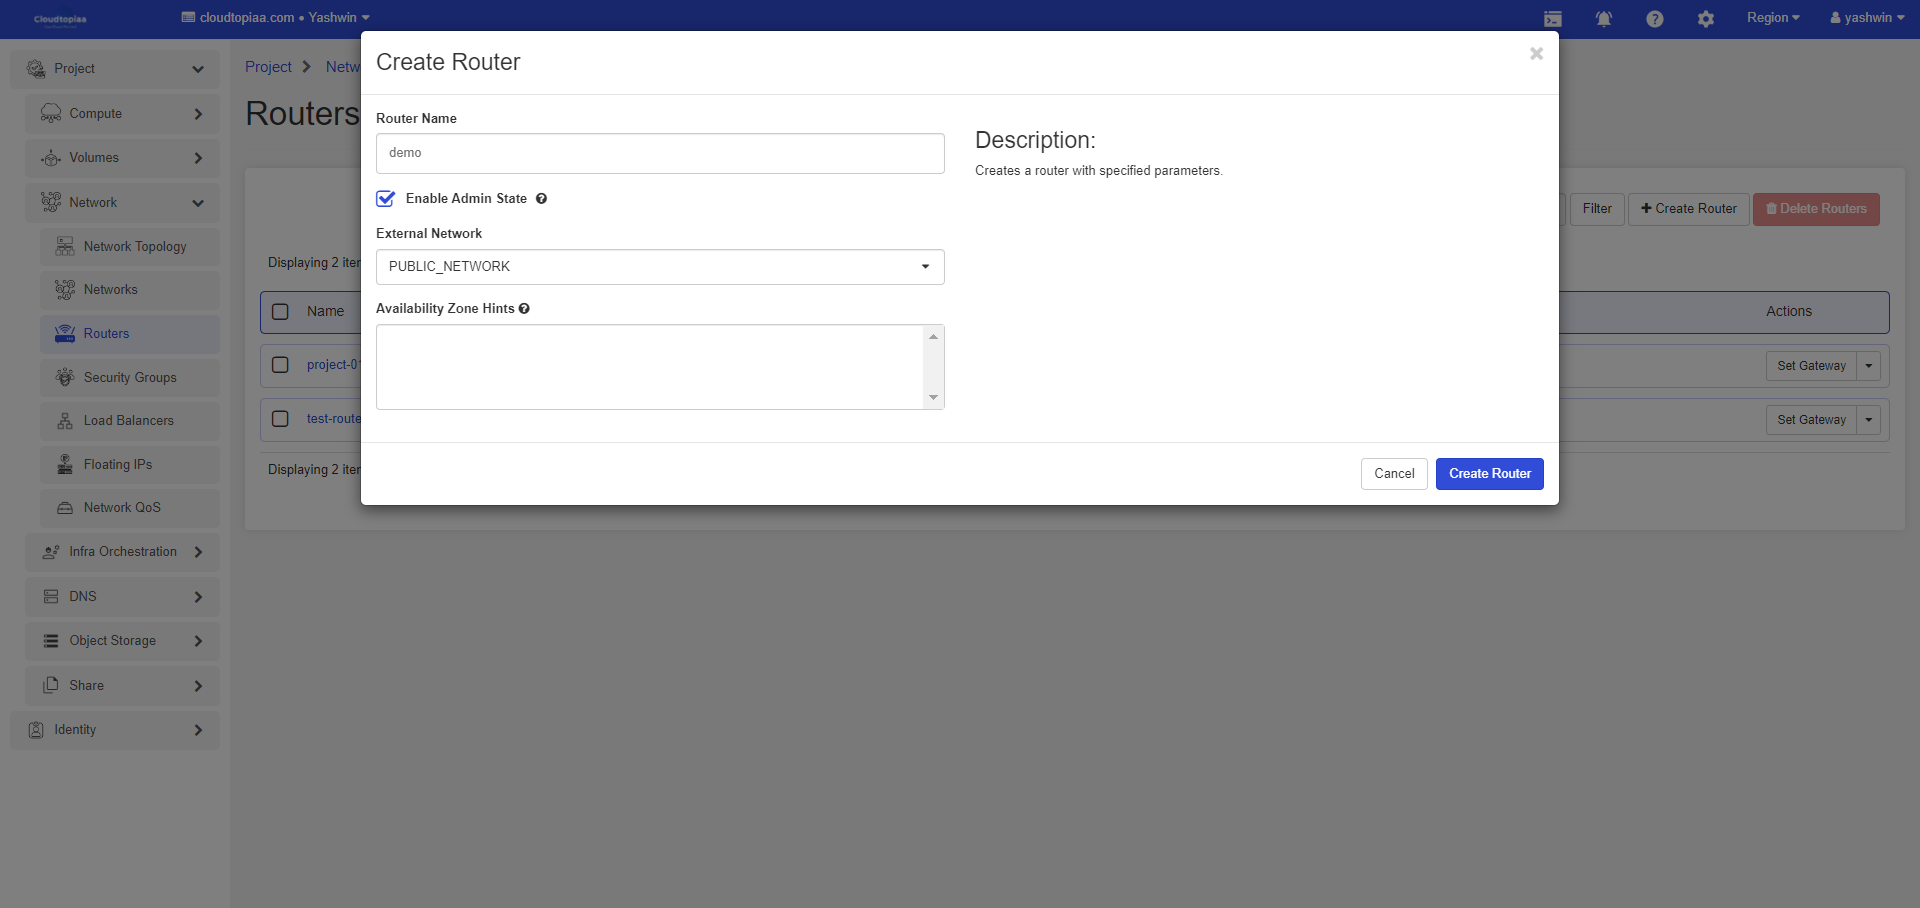
4. Specify network name and select public network for SNAT, and click Create Router

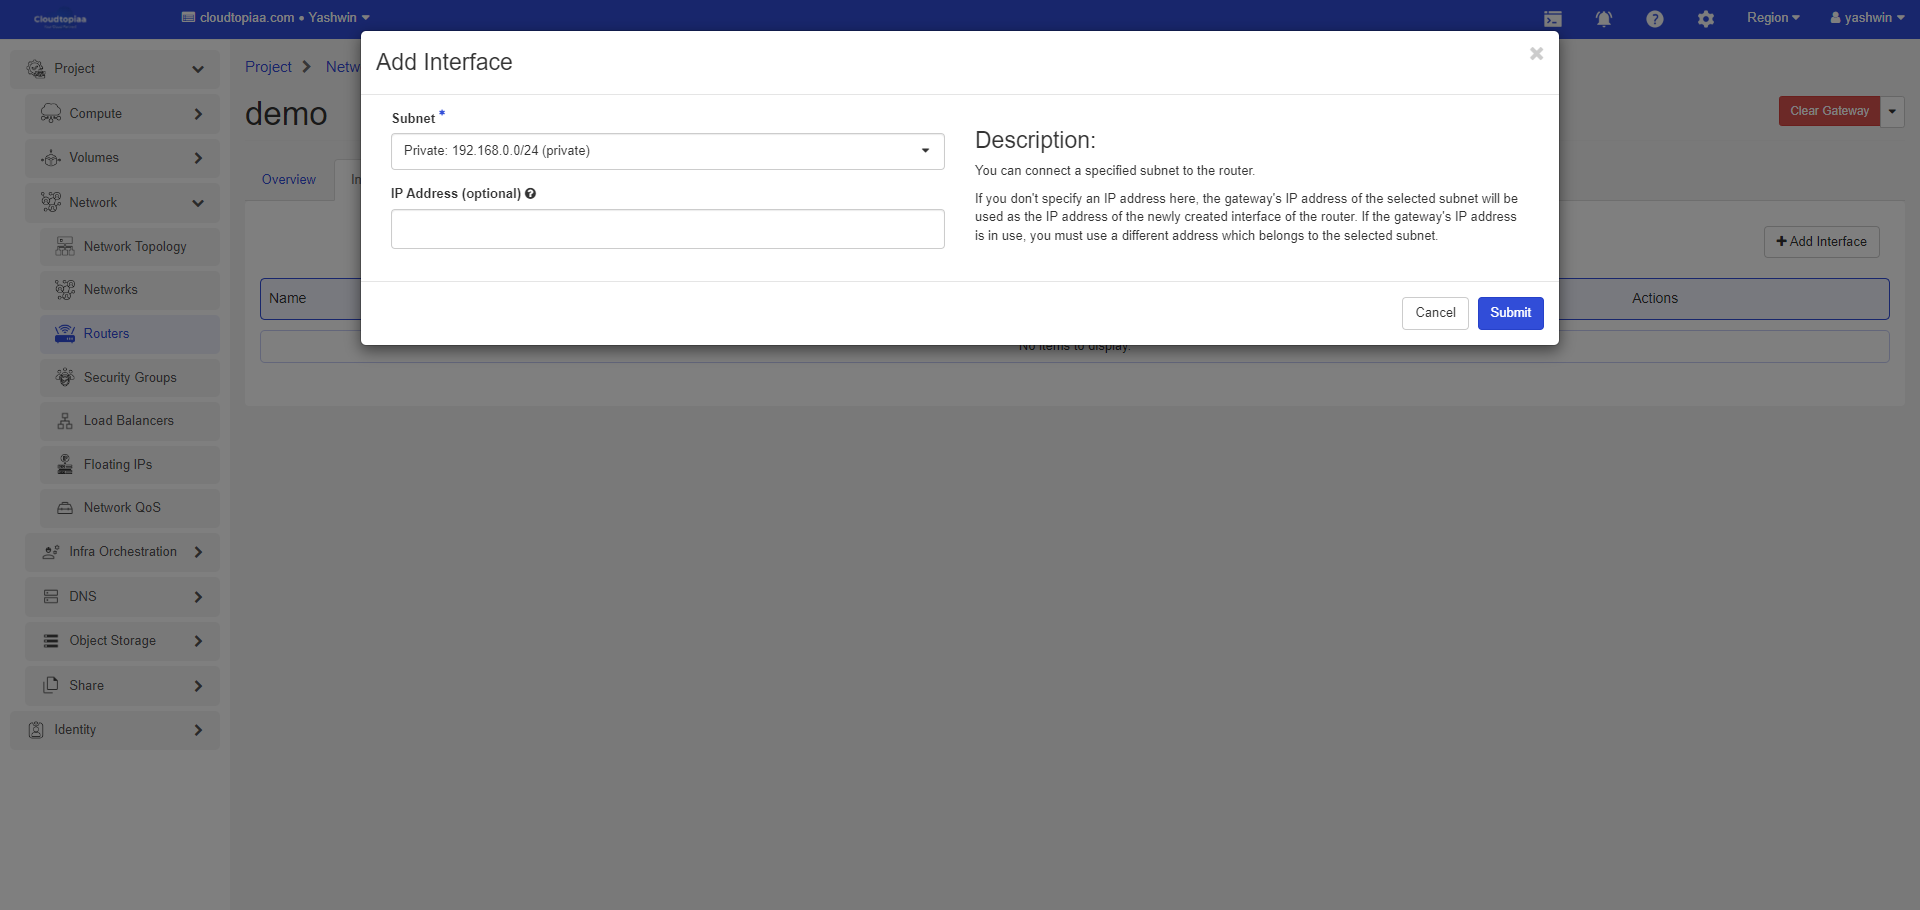
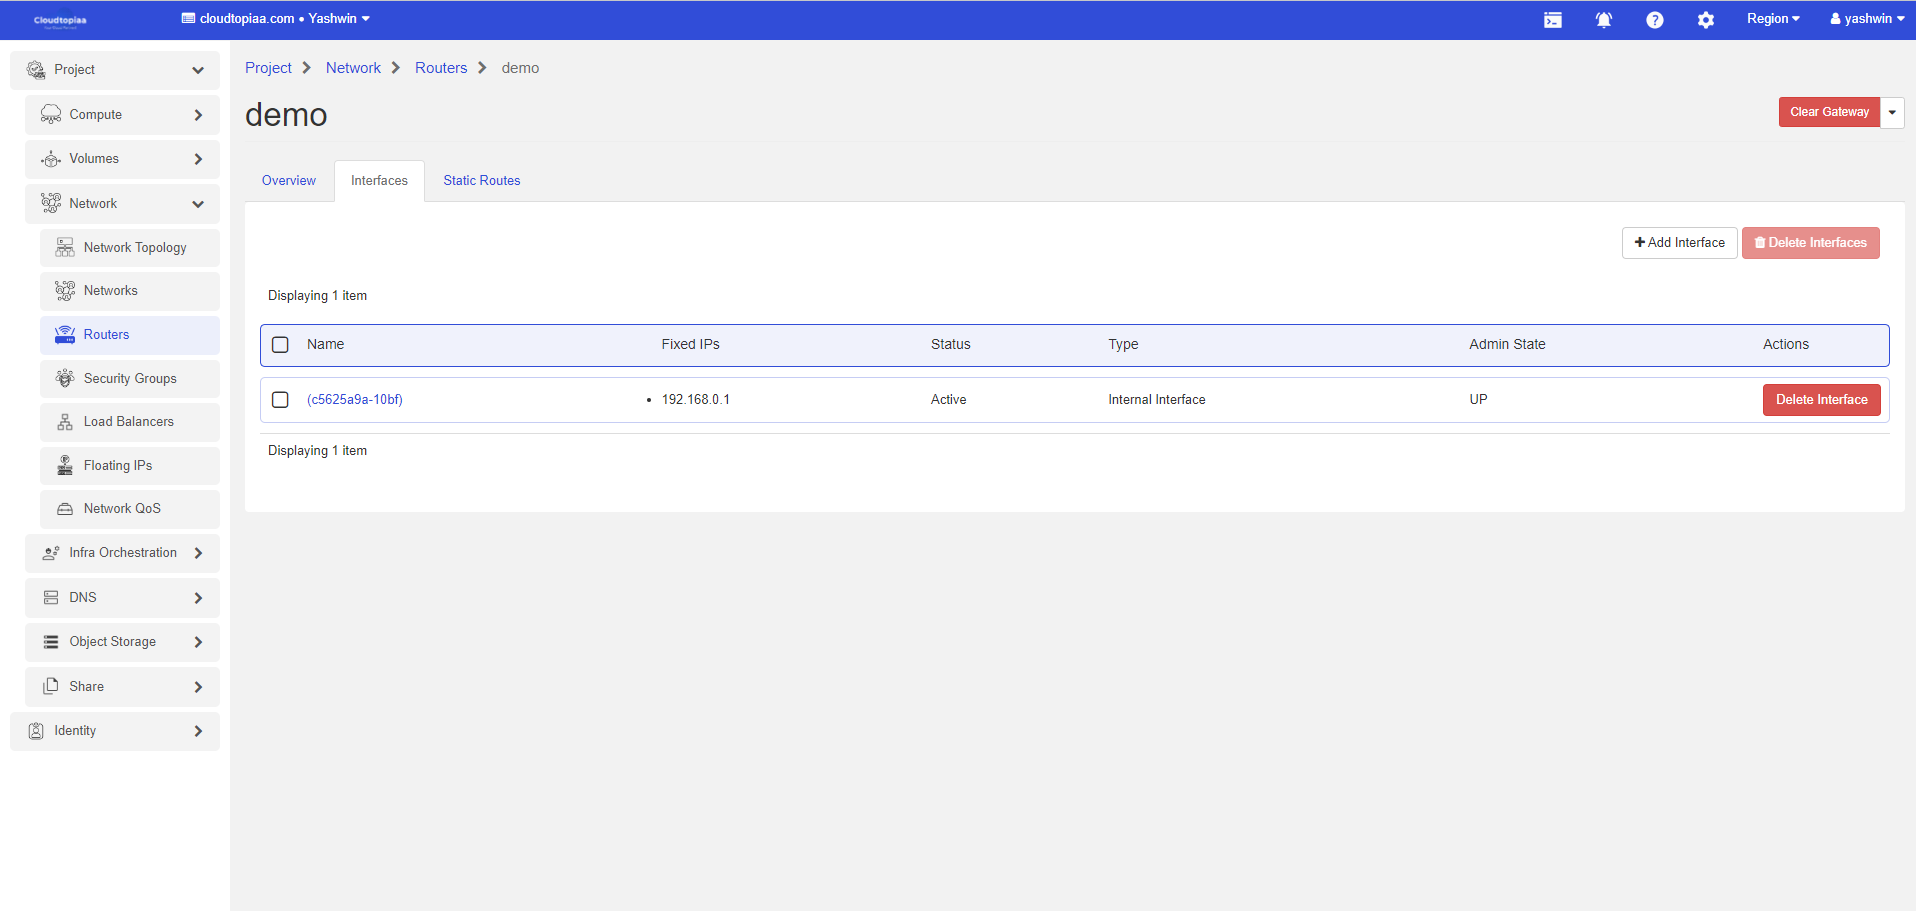
Add Subnet to Router
1. To connect a private network to the router, Navigate to "Project > Network > Routers".
2. Click on the router name.
3. Select Interfacestab.
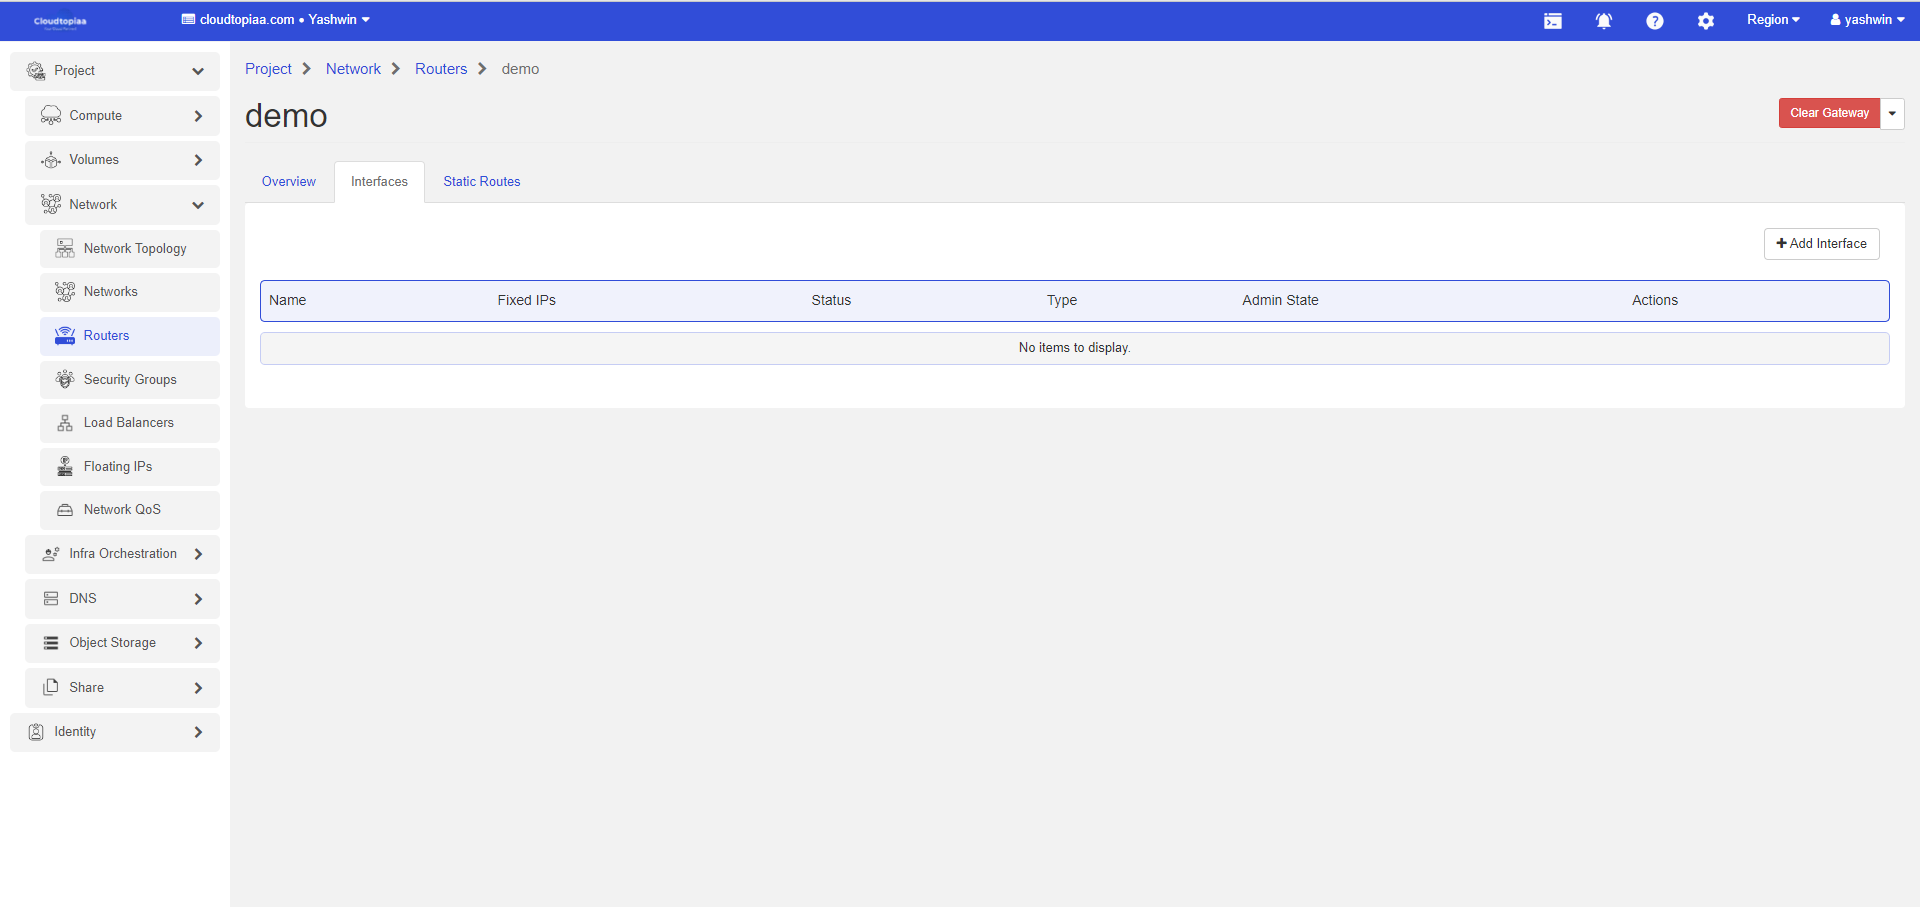
4. Click on Add Interface and select private network to connect to the router, and click Submit.
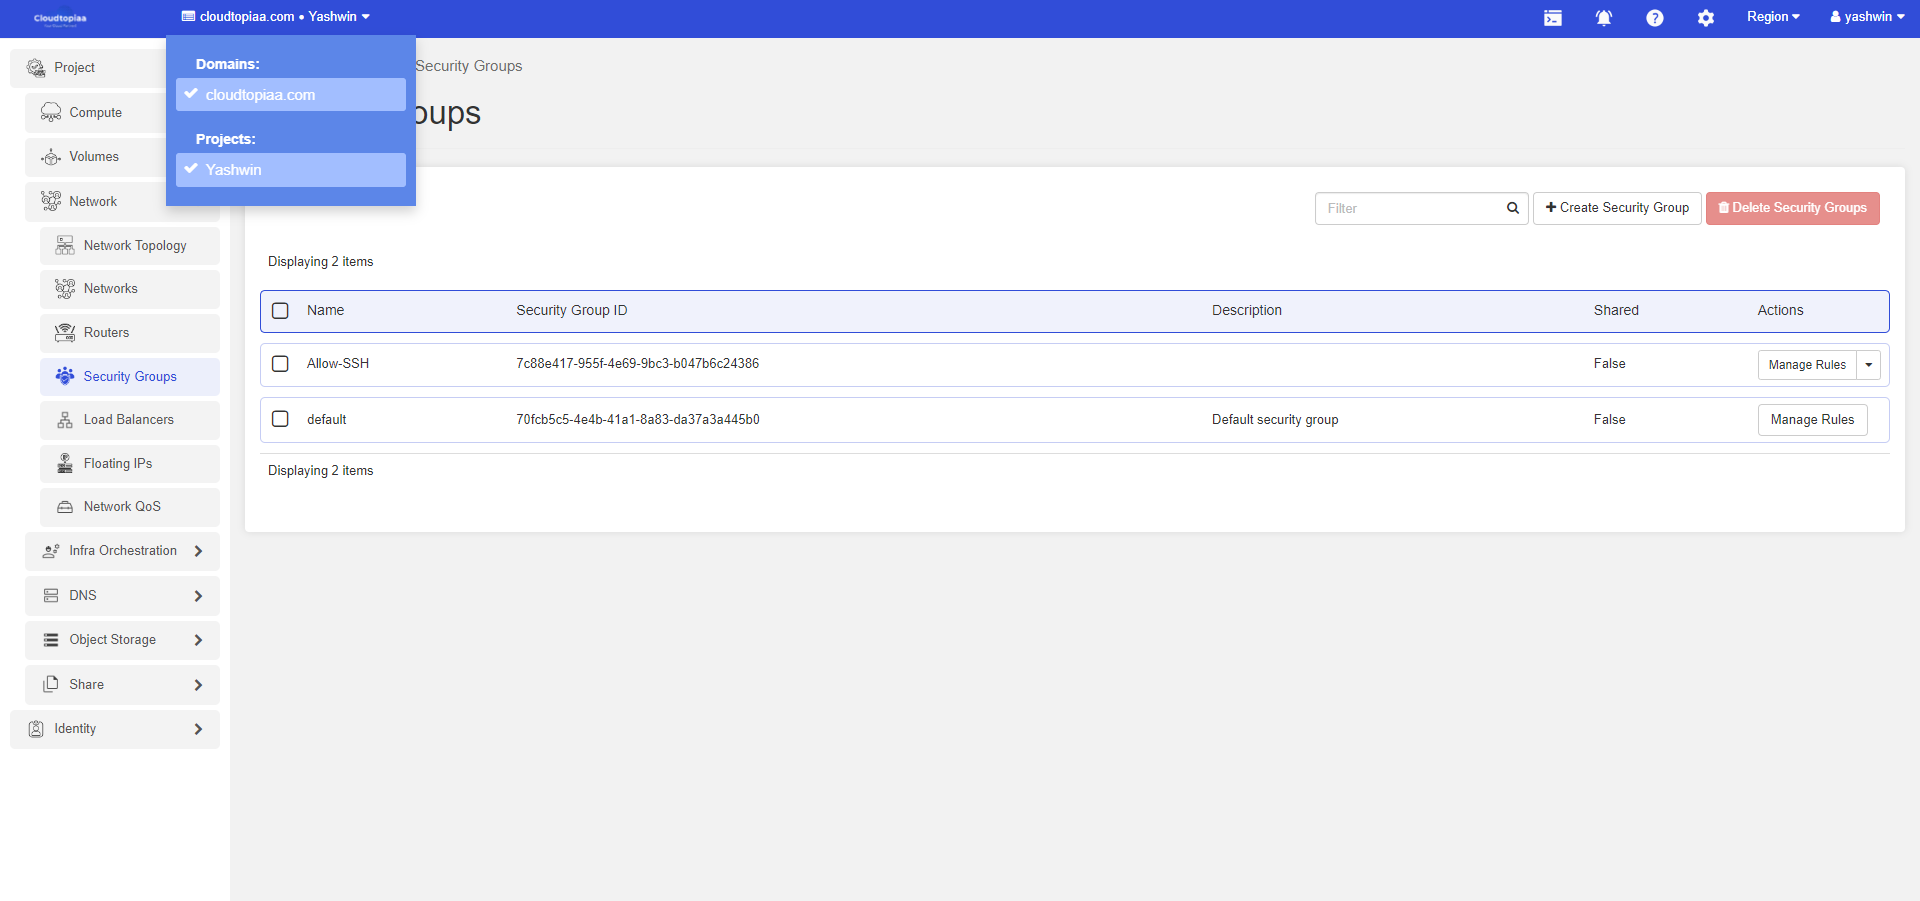
Create Security Group
- Log in to the dashboard.
- . Select the appropriate project from the drop down menu at the top left
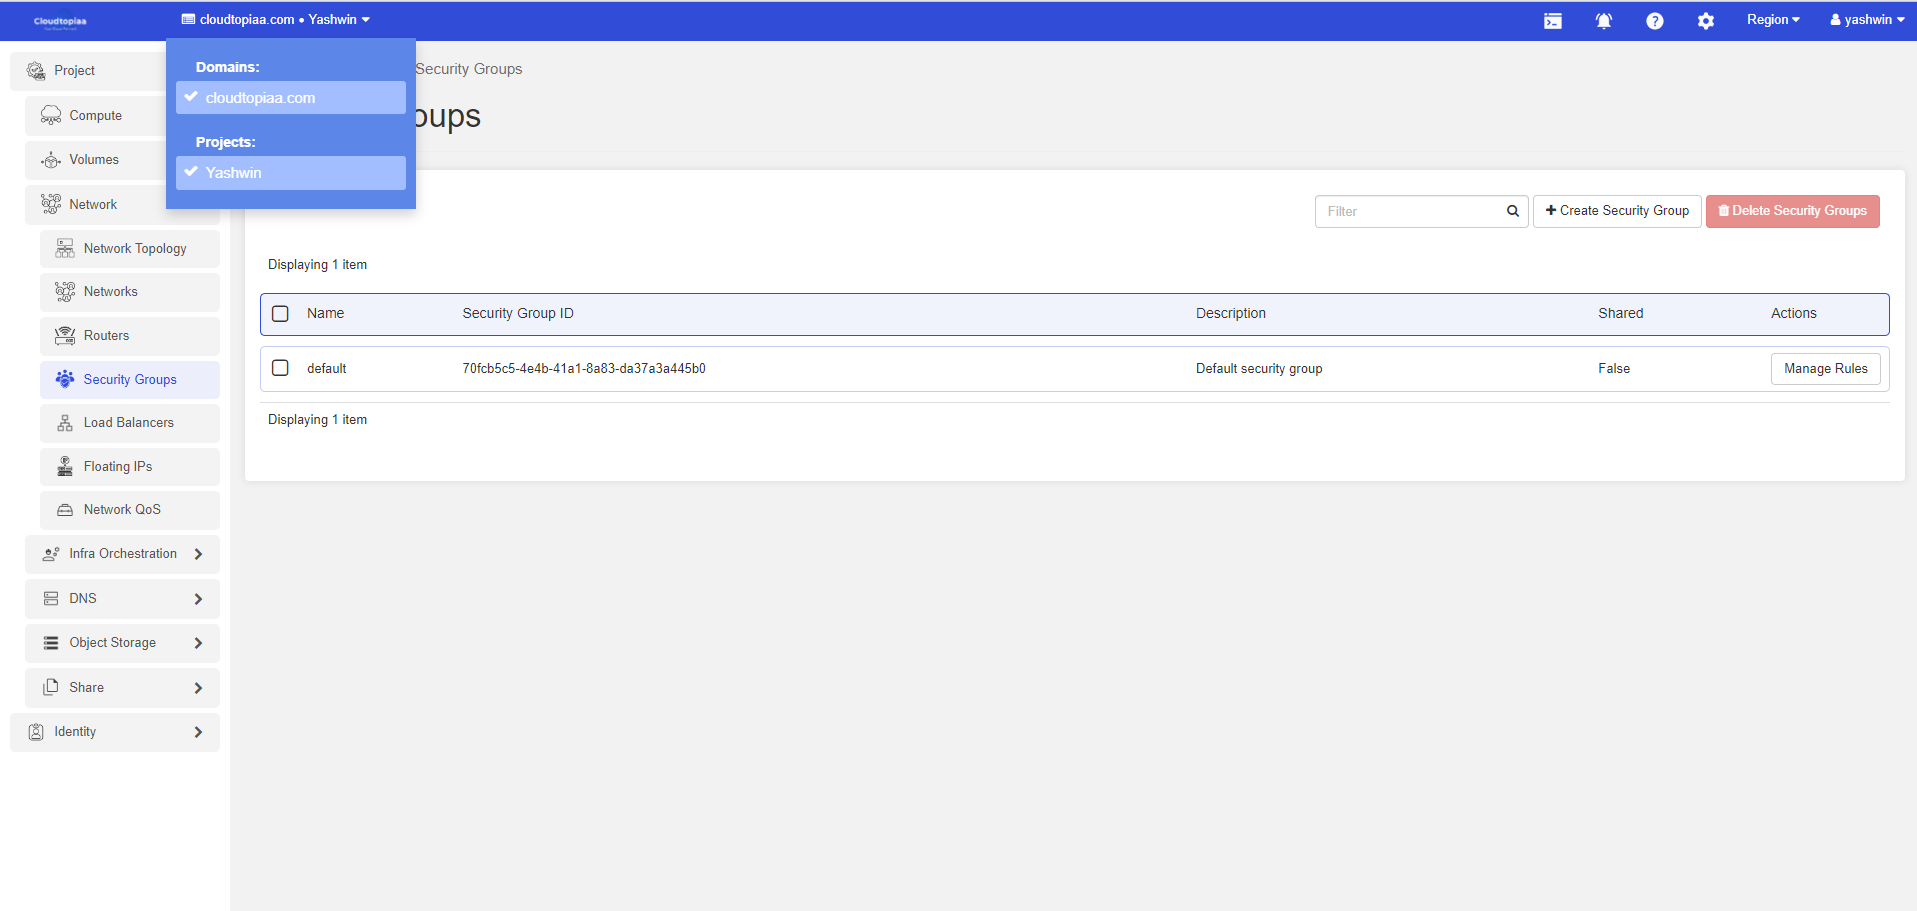
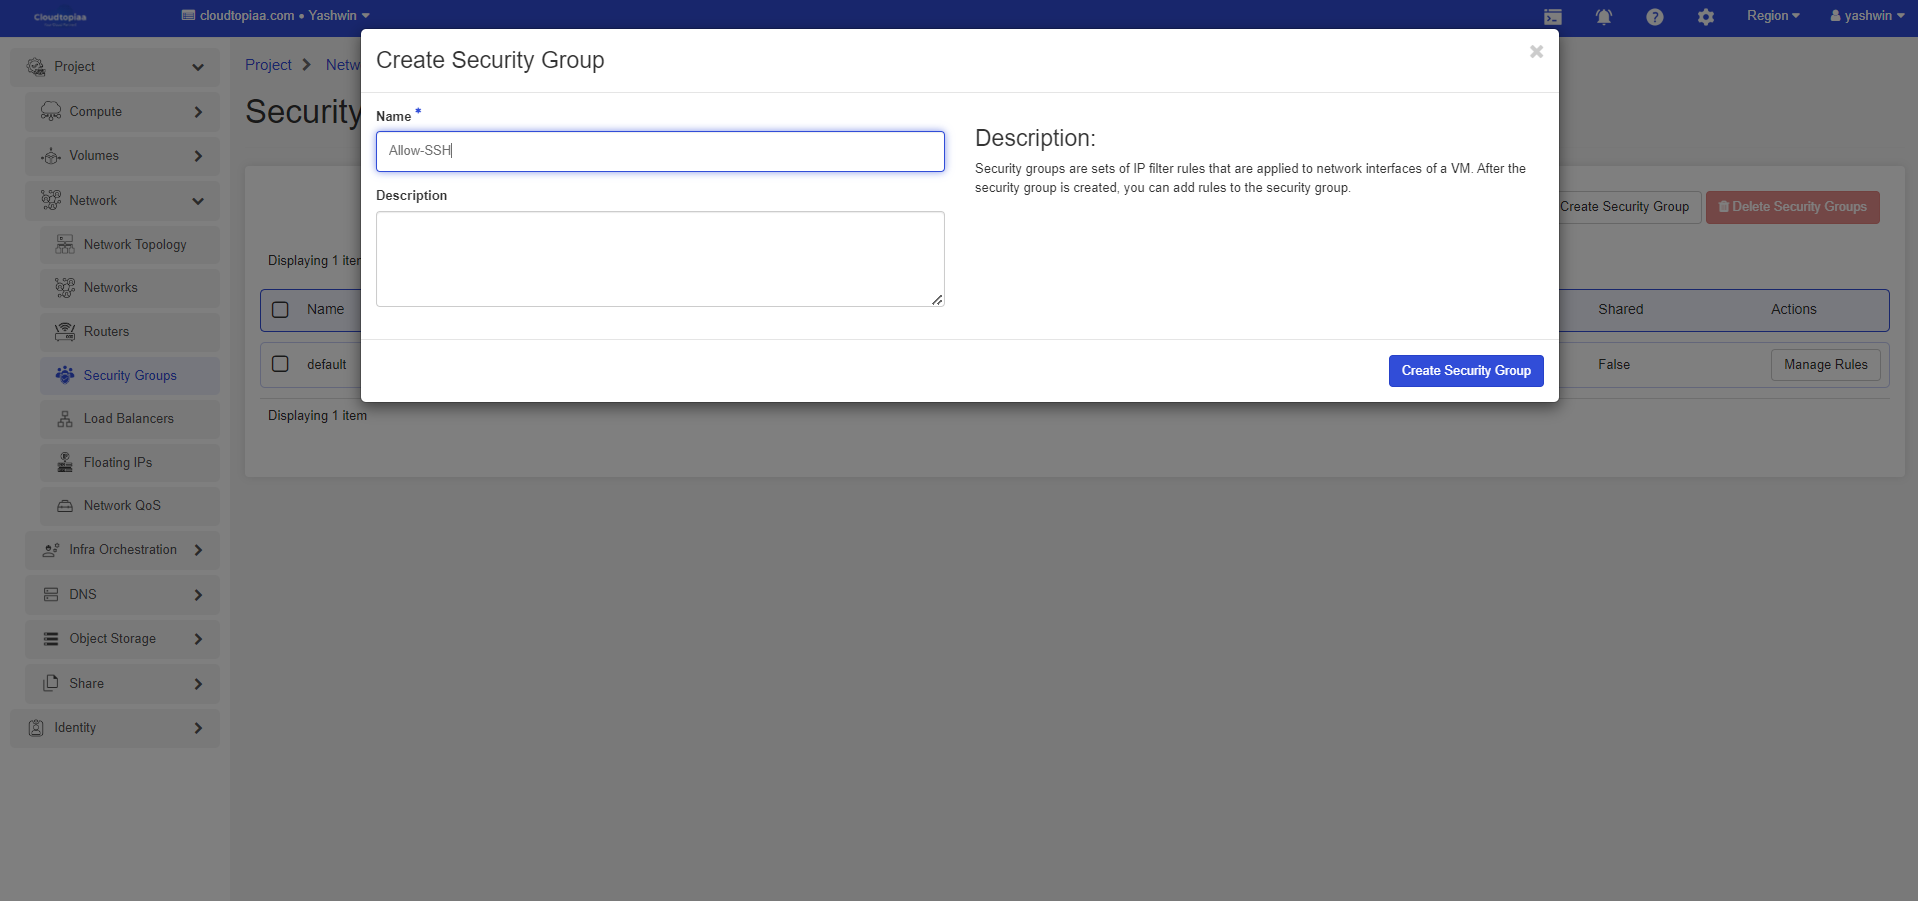
Navigate to Project > Network > Security Groups and click on Create Security Group.
Specify security group name and click Create Security Group.
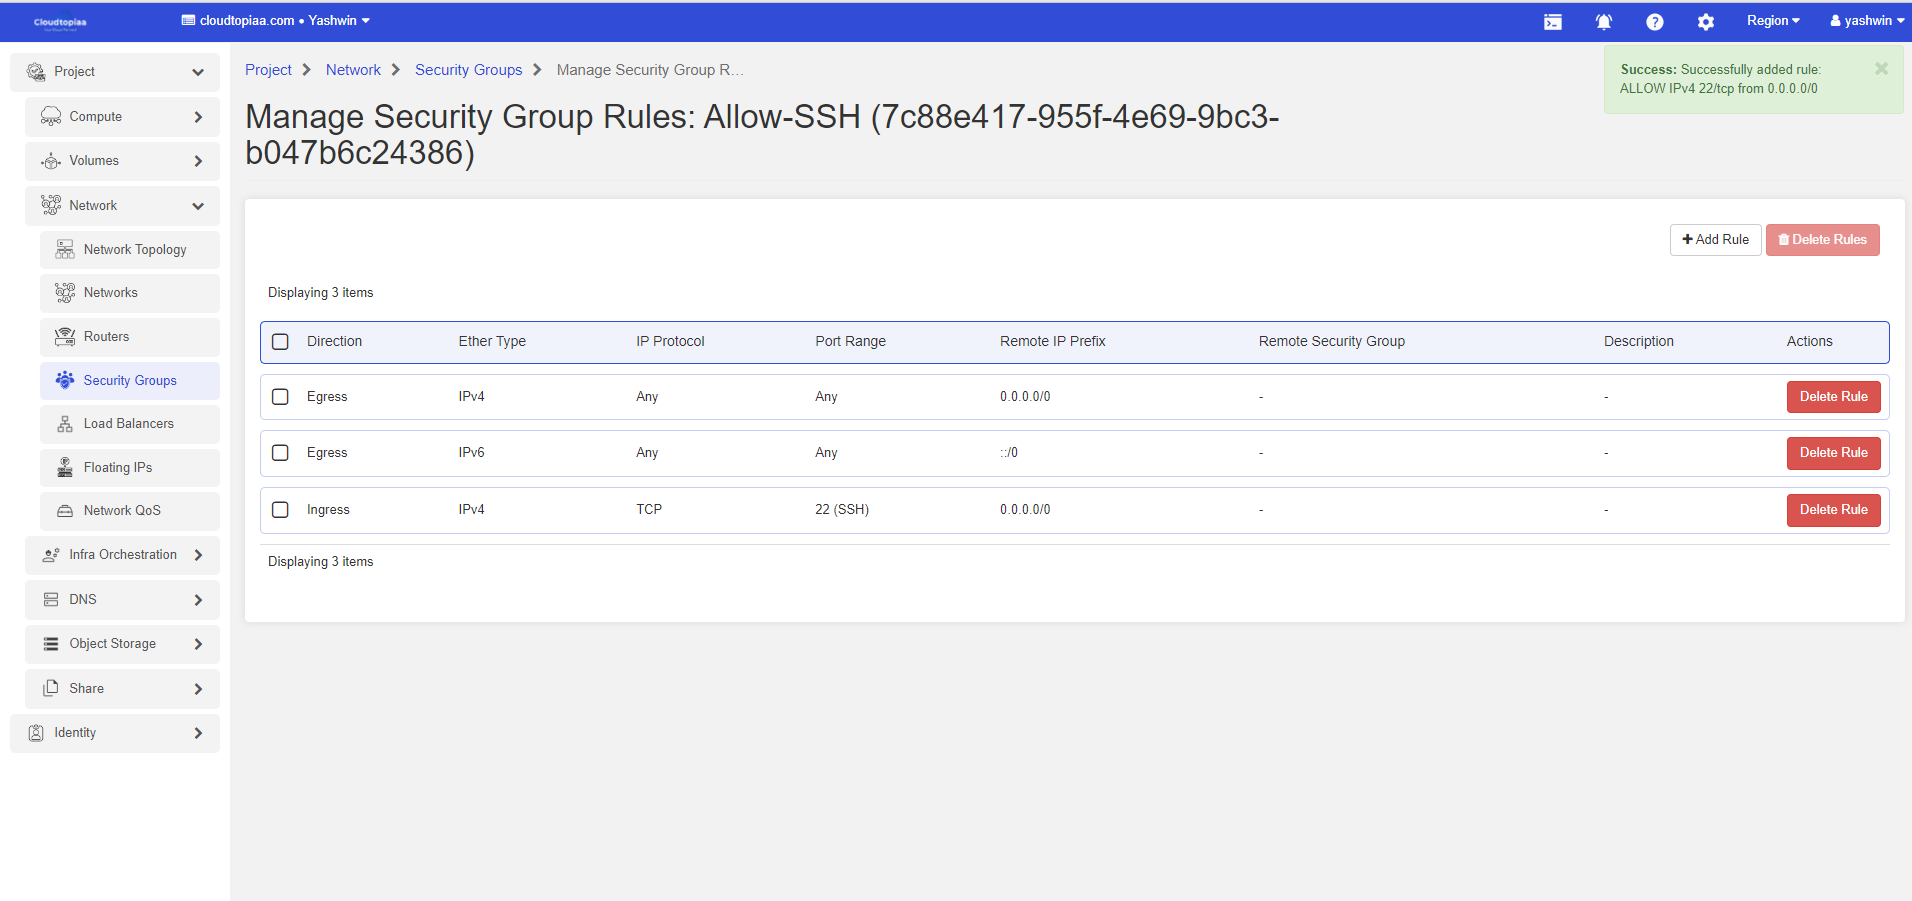
Add Security Group Rule
- Log in to the dashboard.
- Select the appropriate project from the drop down menu at the top left.
3. Navigate to Project > Network > Security Groups.
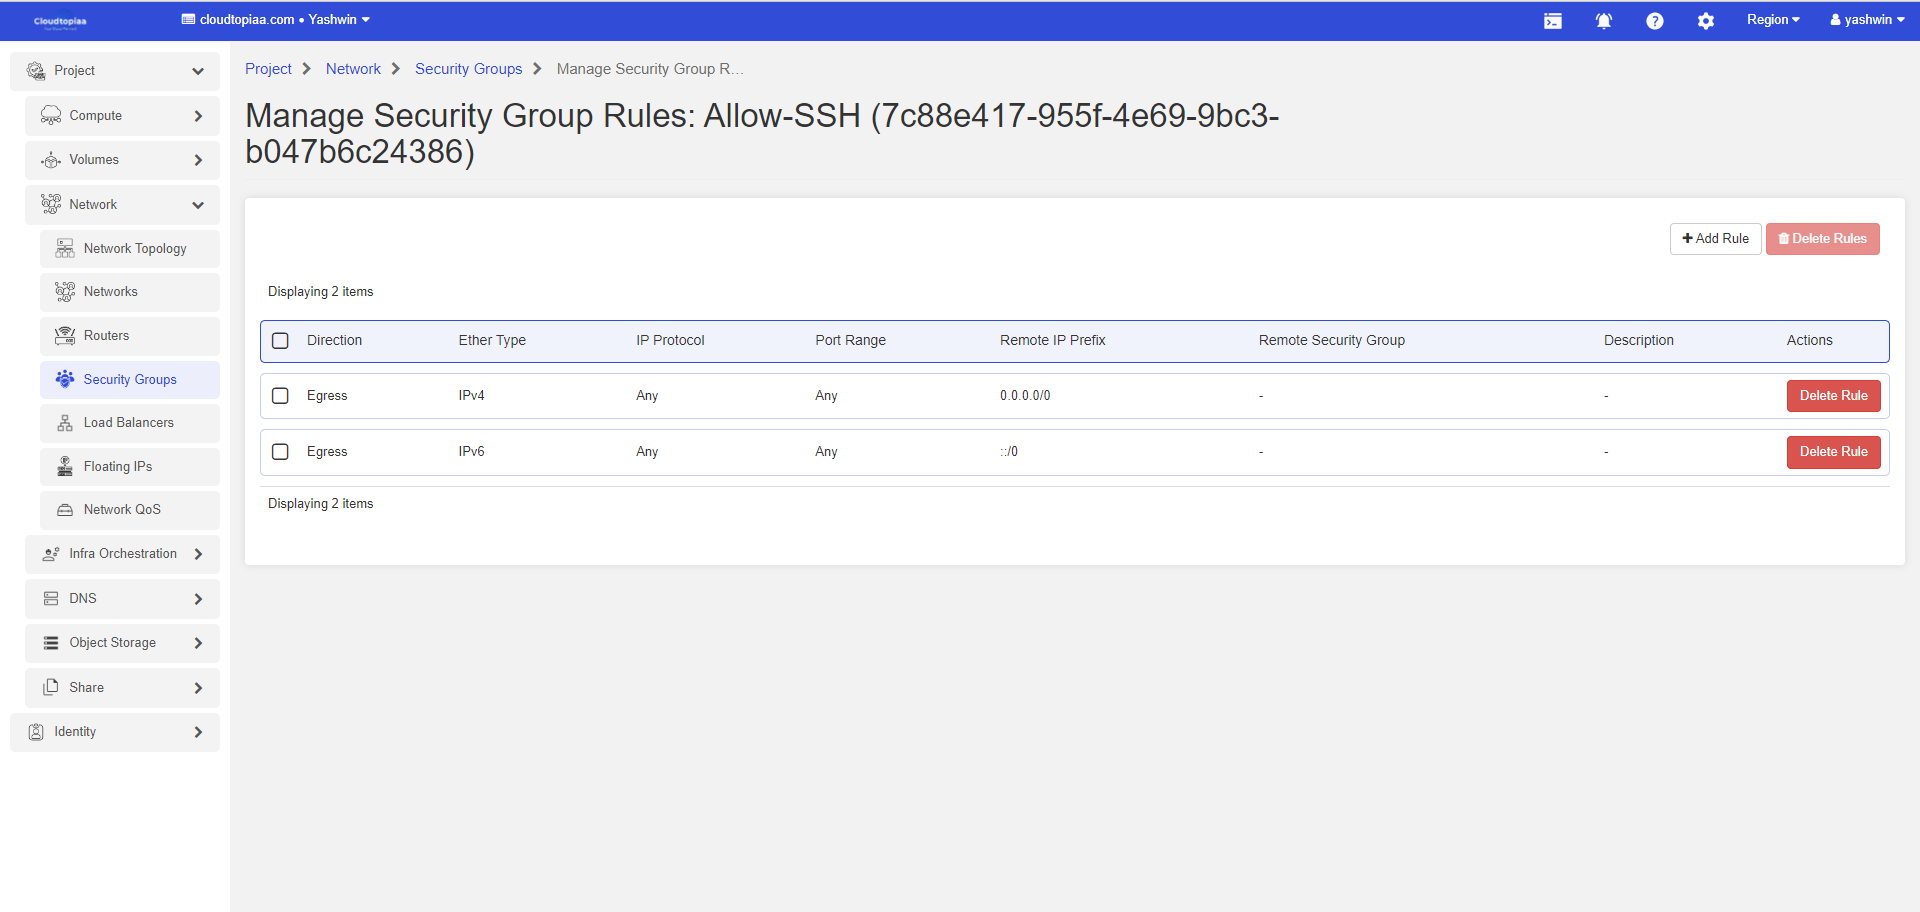
4. click on Manage Rules of the security group in which you want to add rules
5. Click on Add Rule and add following details.
| Rule | Select predefined rules or custom ones. In case of predefined rules, the rest of the fields will pre-populate. |
| Remote | To specify an allowed IP range, select "CIDR". To allow access from all members of another security group select "Security Group". |
| CIDR | Remote CIDR where traffic is allowed if CIDR is selected for Remote. |
| Security Group | Security Group name if Security Group is selected for Remote. |
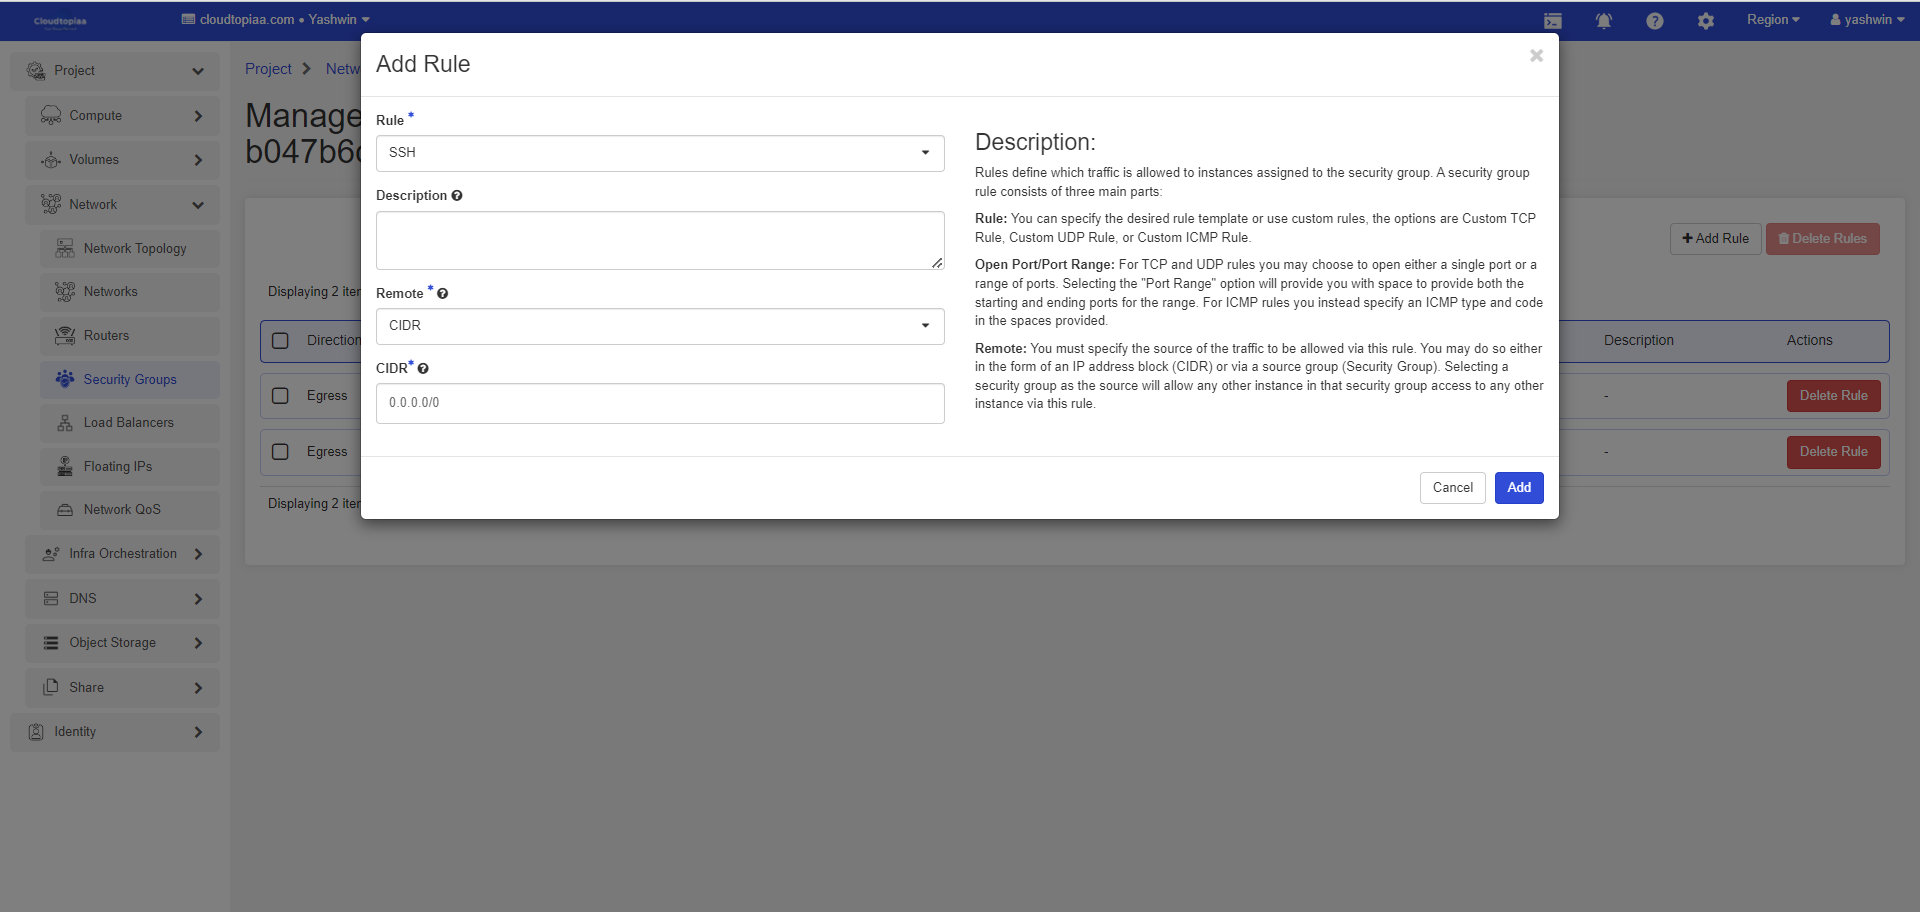
6. Click on Add to create new rule